Requirements
- Must be using a self-hosted WordPress platform.
- Must be able to edit your functions.php theme file (or create a new one if one does not already exist).
- Must have knowledge of CSS to create your own login page.
What We’ll Be Creating
Tired of logging into your self-hosted WordPress site, feeling like you’re using WordPress.com? Does the WordPress logo make you feel unprofessional? Or maybe you just want to personalize your site as much as you can? Let’s create a custom login page! Say goodbye to that WordPress logo and hello to your book blog logo!
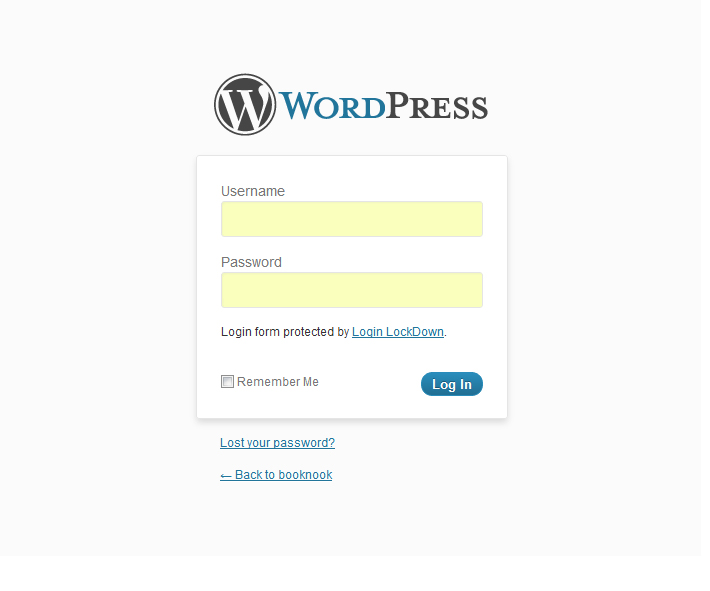
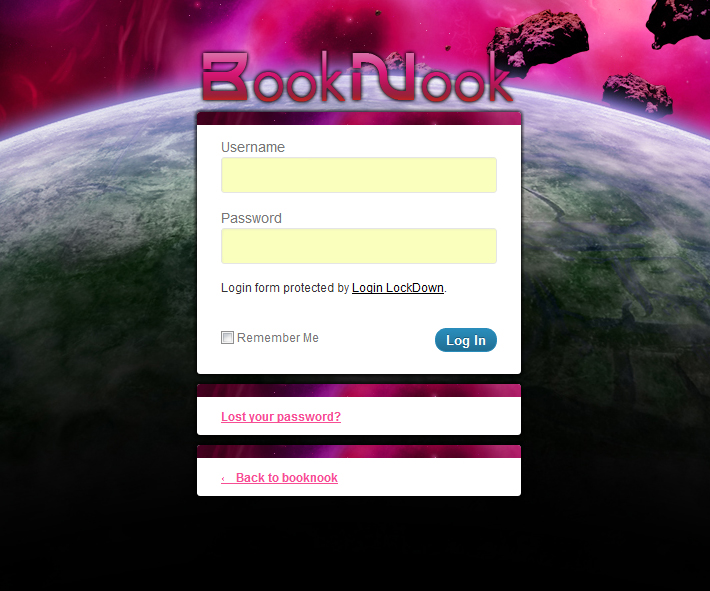
With a few simple adjustments and a new stylesheet, we can fully customize the look and graphics on your WordPress site login page! To get you excited, here’s a before and after screenshot of my own login page!
The Code
First you need to access your functions.php file. Make sure the entire file is enclosed in php tags like this:
<?php

//Code stuff here

?>
If not, then you’ll have to add them in yourself.
Then, paste the following code inside of the body of the functions.php file (within the php tags):
//Custom Login Page
function custom_login() {
	echo '<link rel="stylesheet" type="text/css" href="' . get_bloginfo('stylesheet_directory') . '/custom-login.css" />';
}

add_action('login_head', 'custom_login');
Basically what we’re doing here is assigning a new stylesheet to the login page. In my case, my stylesheet is located in my theme directory and is called custom-login.css. You can change this name if you wish, but ultimately it doesn’t matter.
Next, you have to create a new CSS file called custom-login.css (or whatever you decide to name your login page CSS file), and upload it to your theme directory (/wp-content/themes/your-theme-name). Then you can edit this CSS file to customize the look of your login page!
Here’s the basic structure of the CSS:
/* Custom WordPress Login Page Style */

/* Page Background */
body, body.login html { }

/* Global links */
a { }
a:hover { }

/* Div containing all the content (logo, form, lost password, back to blog) */
#login { }

/* WordPress Logo Replacement (Don't forget to change width and height */
.login h1 a {
	background:url('YOUR CUSTOM BACKGROUND IMAGE URL HERE') 0 0 no-repeat;
	width:326px;
	height:63px;
}

/* The actual login form, surrounding the username/password fields */
.login form { }

/* Username and Password Input Fields */
input#user_login, input#user_pass { }

/* The Submit Button */
input#wp-submit { }

/* Lost Password Link */
p#nav { }
	p#nav a { }

/* Back to Blog Link */
p#backtoblog { }
	p#backtoblog a { }
You can change all the elements you want, like background image, background colour, login form elements, link colours, etc.! Your login page will go from looking like the standard WordPress-hosted login to something completely unique that matches the rest of your blog’s theme!
Important Note: Basically what we’re doing here is overriding another CSS file. So if you find that your changes are not showing up, try adding “!important” after the CSS, like this:
/* WordPress Logo Replacement (Don't forget to change width and height */
.login h1 a {
	background:url('YOUR CUSTOM BACKGROUND IMAGE URL HERE') 0 0 no-repeat !important;
	width:326px !important;
	height:63px !important;
}
Questions? Comments?
If you have any questions or comments or need help implementing this, let me know in the comments! 🙂


This is a great tutorial! I’m so lazy to make my admin panel look pretty haha
You – my dear – are just pure amazing! This is so cool!! 🙂
I’m glad you like it!! 🙂
Whoa, I had no idea you could do this! Great tutorial!
I know this if off topic but I’m looking into starting my own blog and was wondering what all is required to get set up? I’m assuming having a blog like yours would cost a pretty penny? I’m not very web savvy so I’m not 100% sure. Any recommendations or advice would be greatly appreciated. Thanks